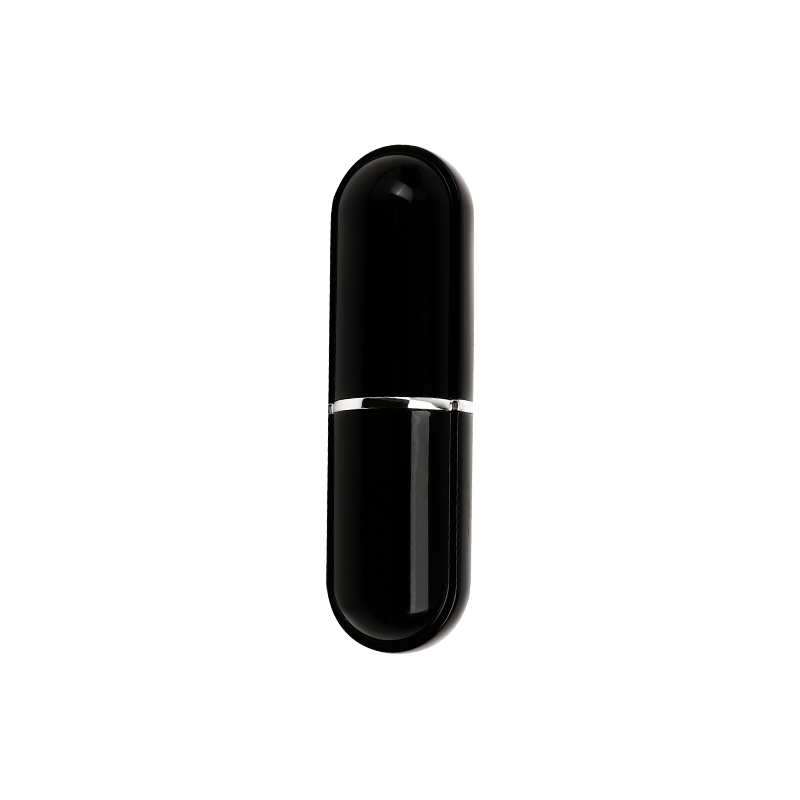
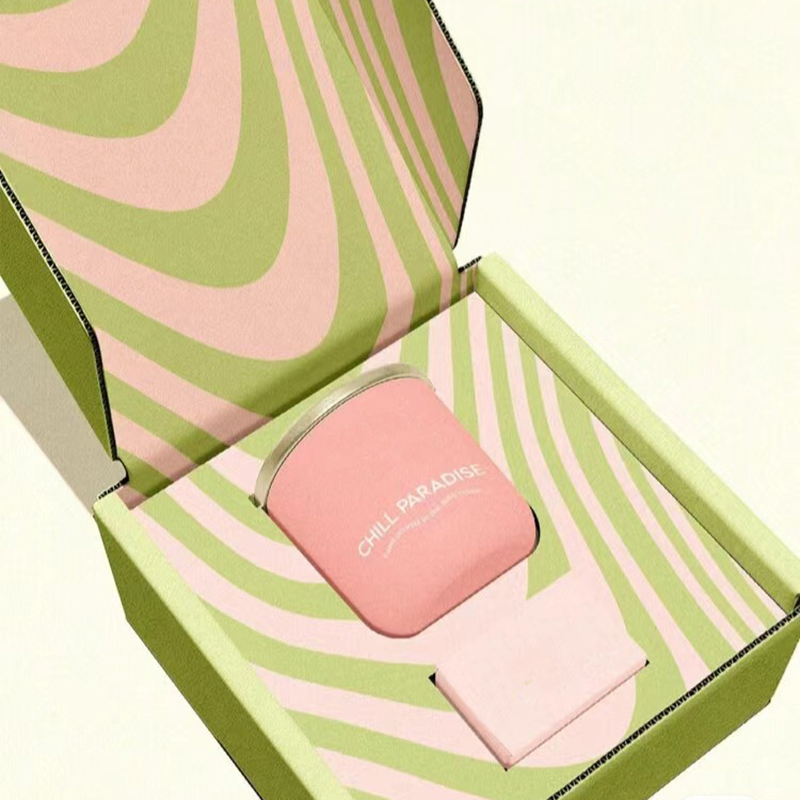
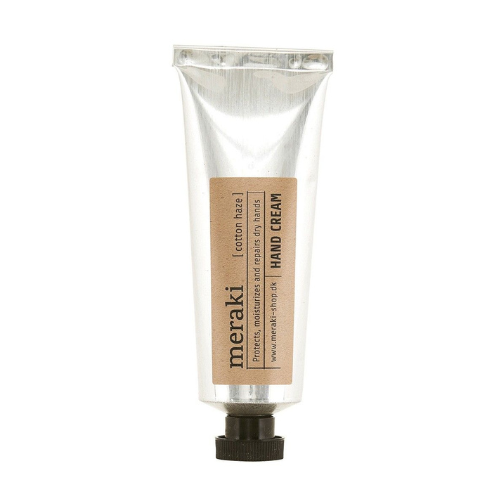
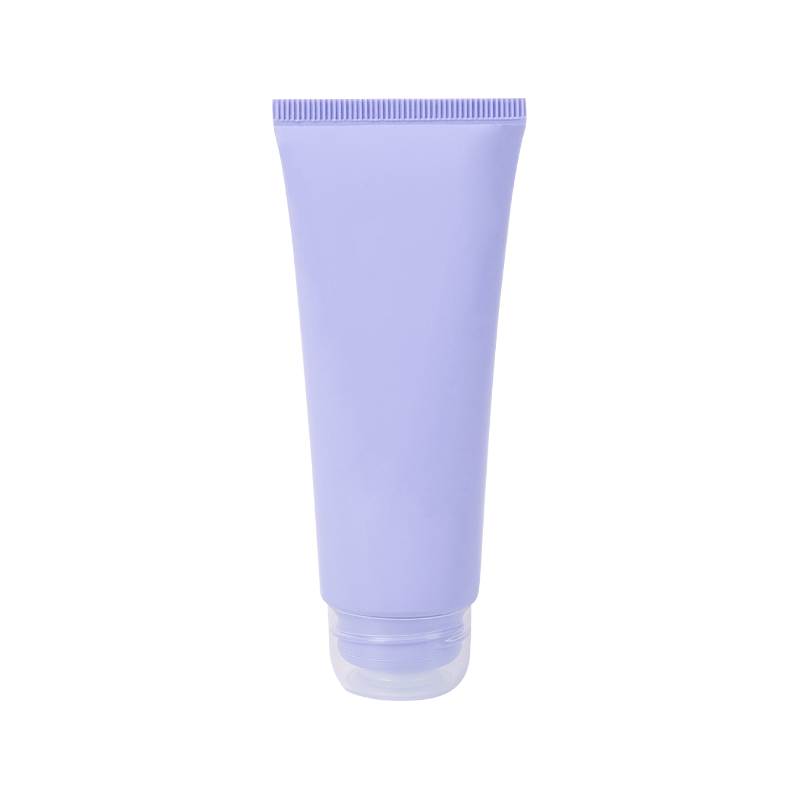
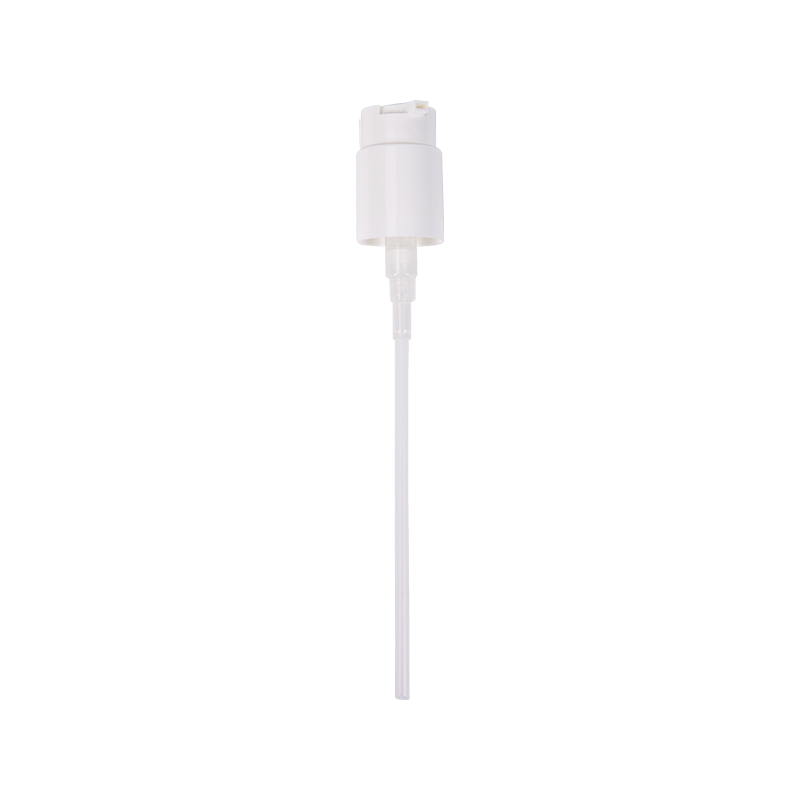
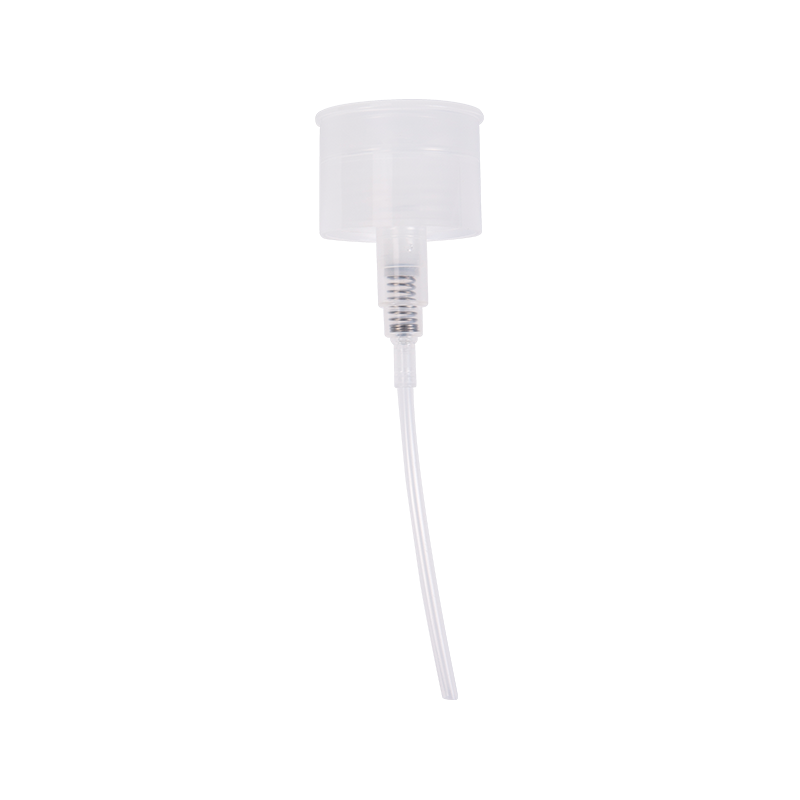
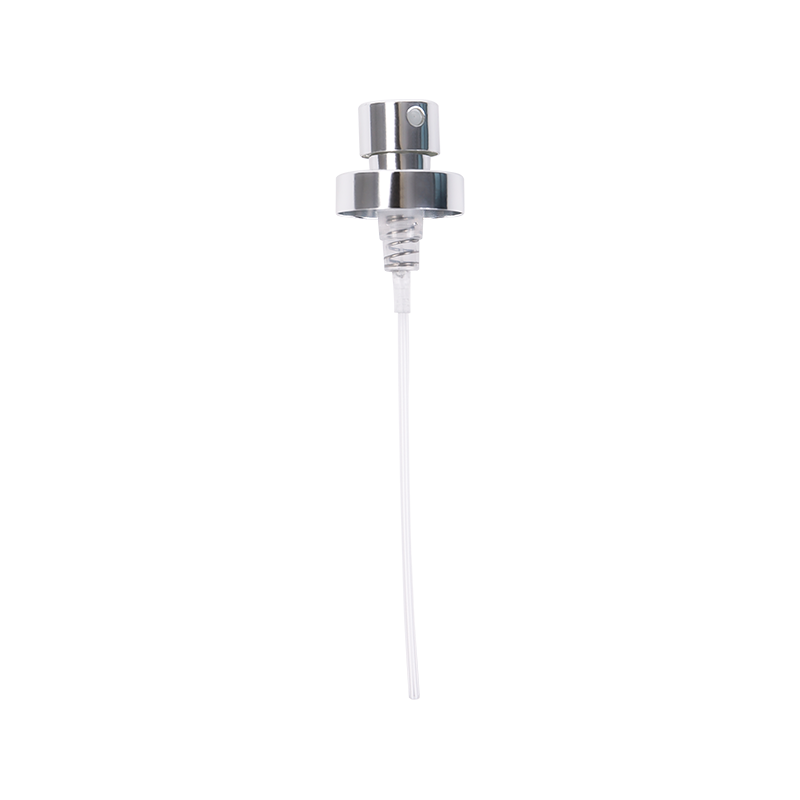
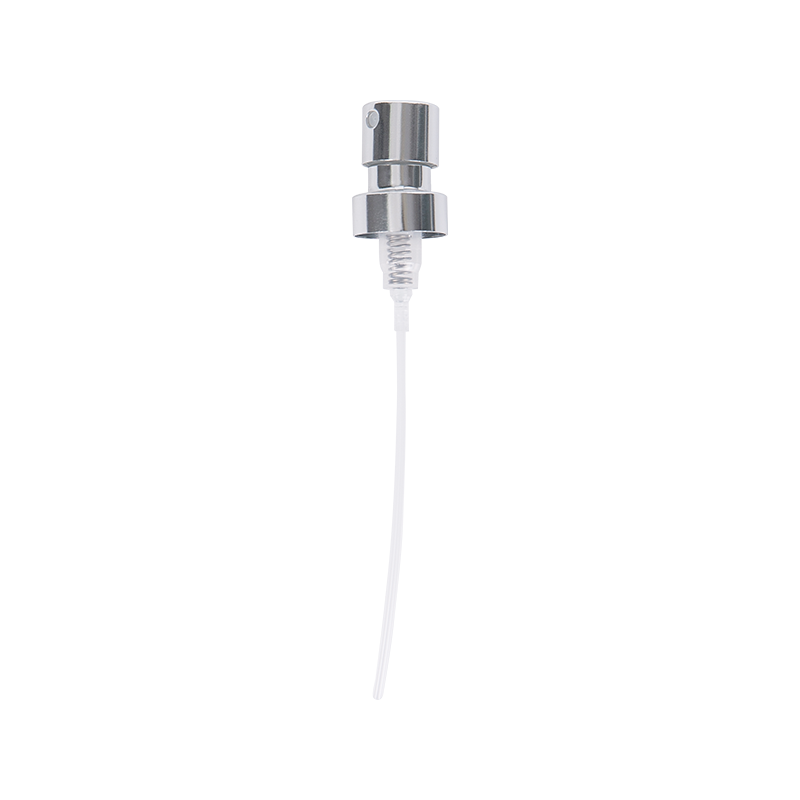
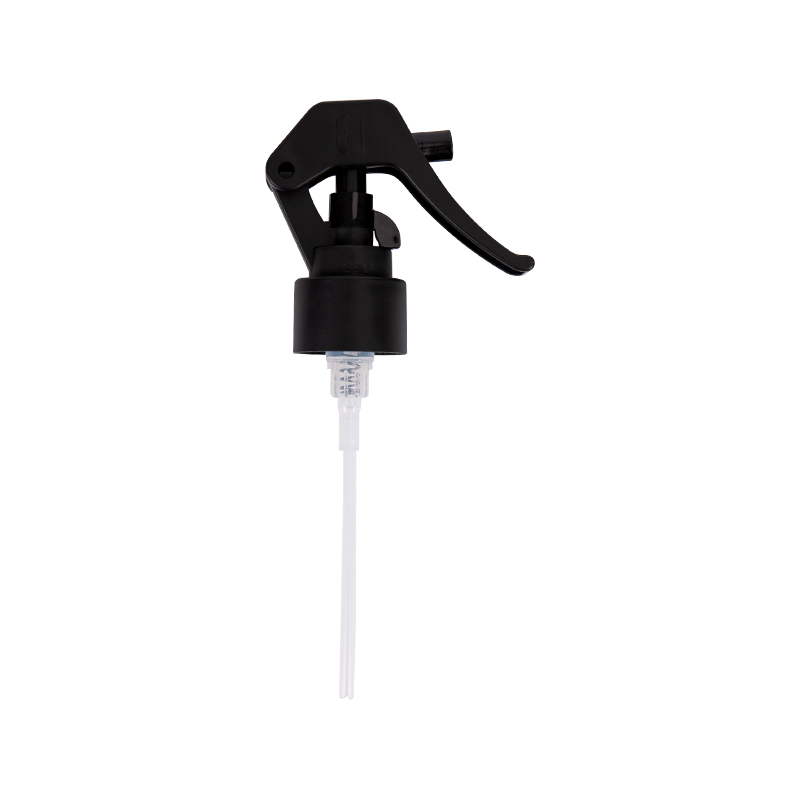
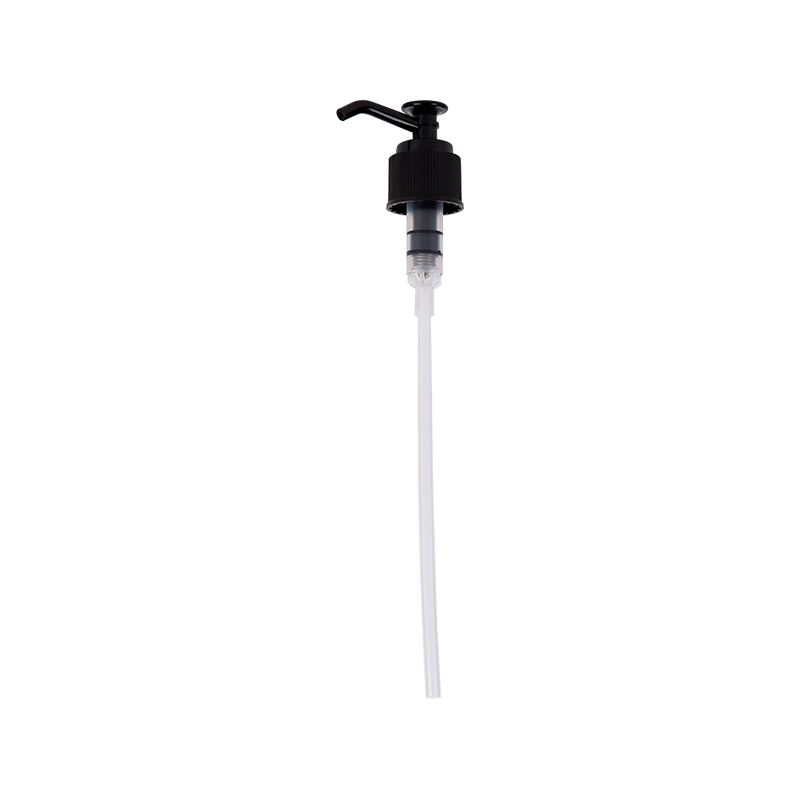
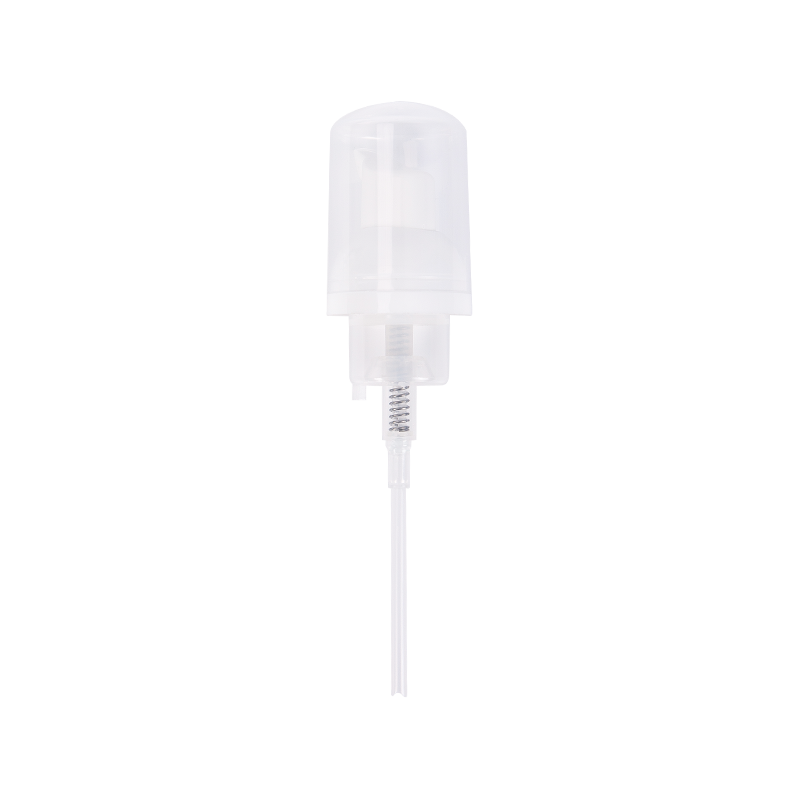
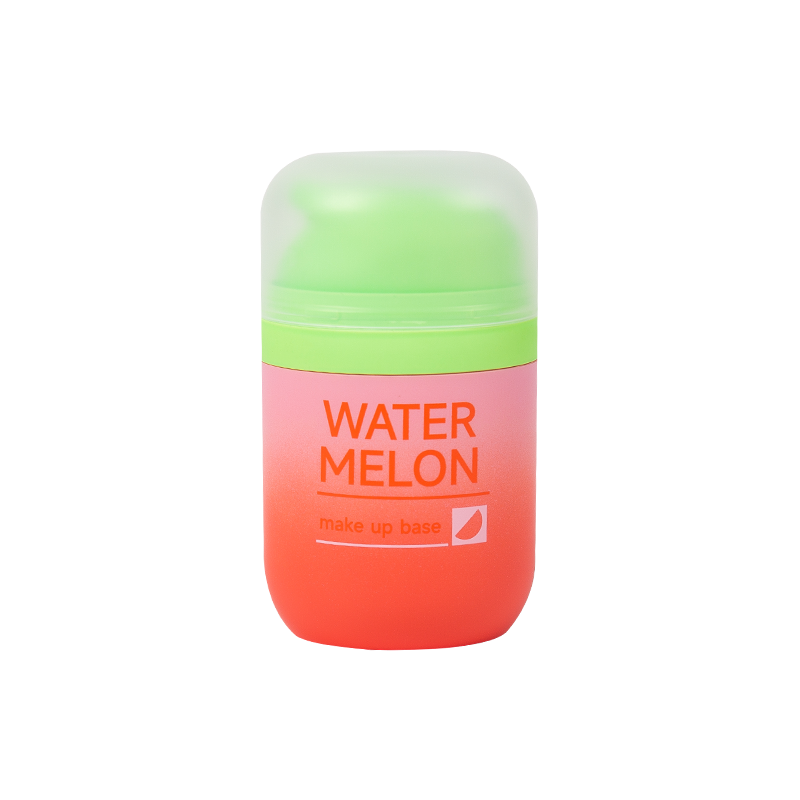
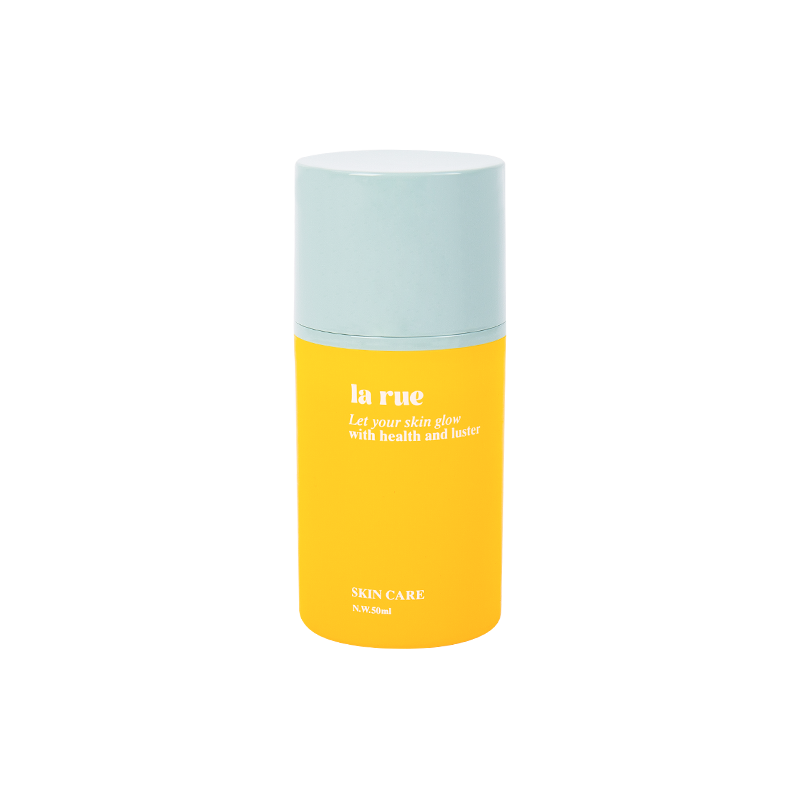
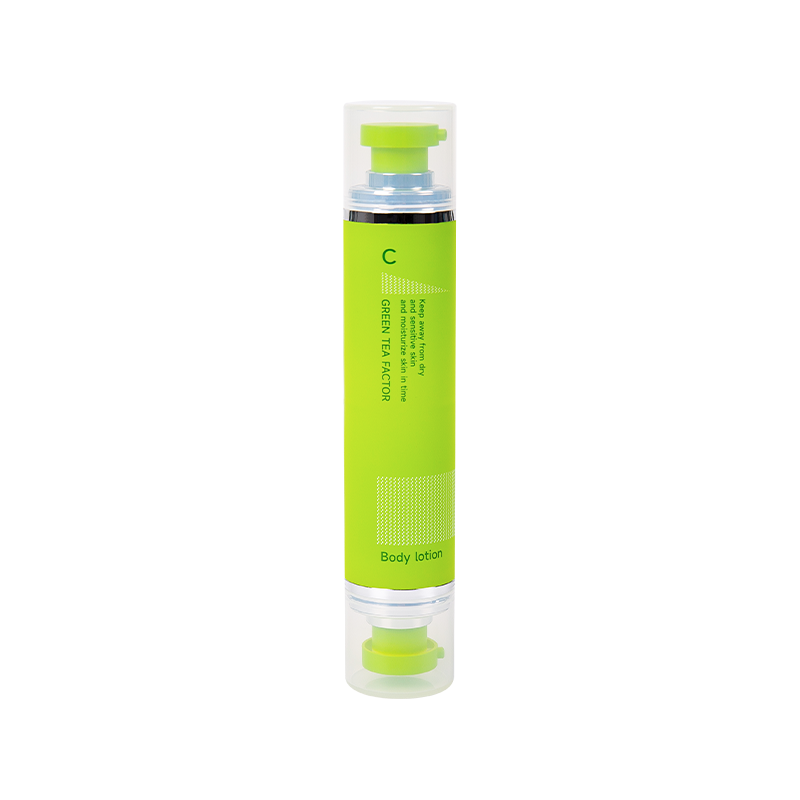
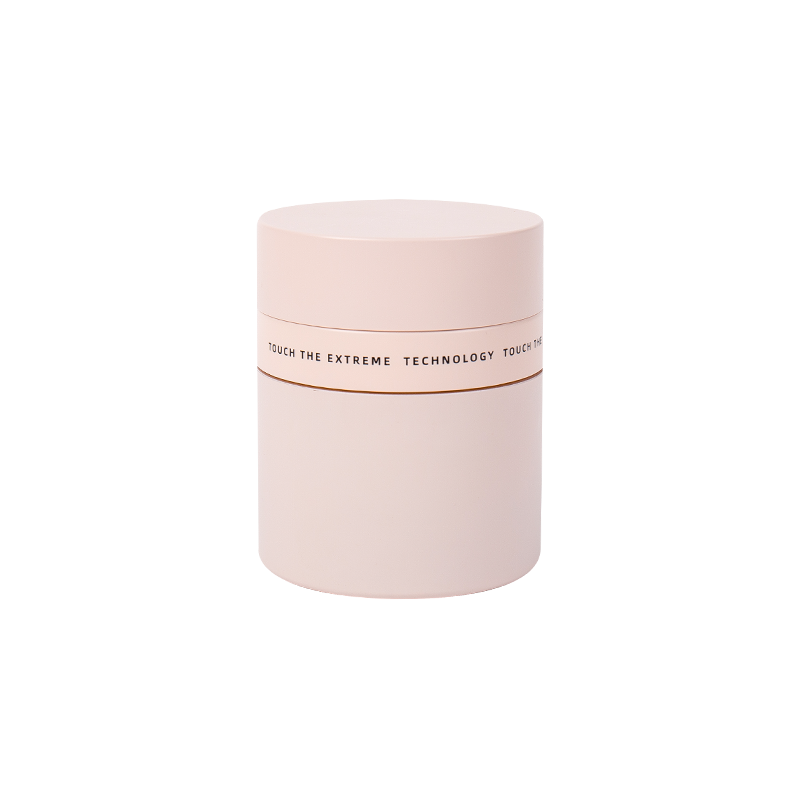
Innovation in beauty packaging – the 84.9mm Black Lip Balm Lip Gloss Lipstick Capsule. Crafted with precision and elegance, this capsule is designed to elevate your lip care and cosmetic products to n...
How to clean a trigger sprayer?
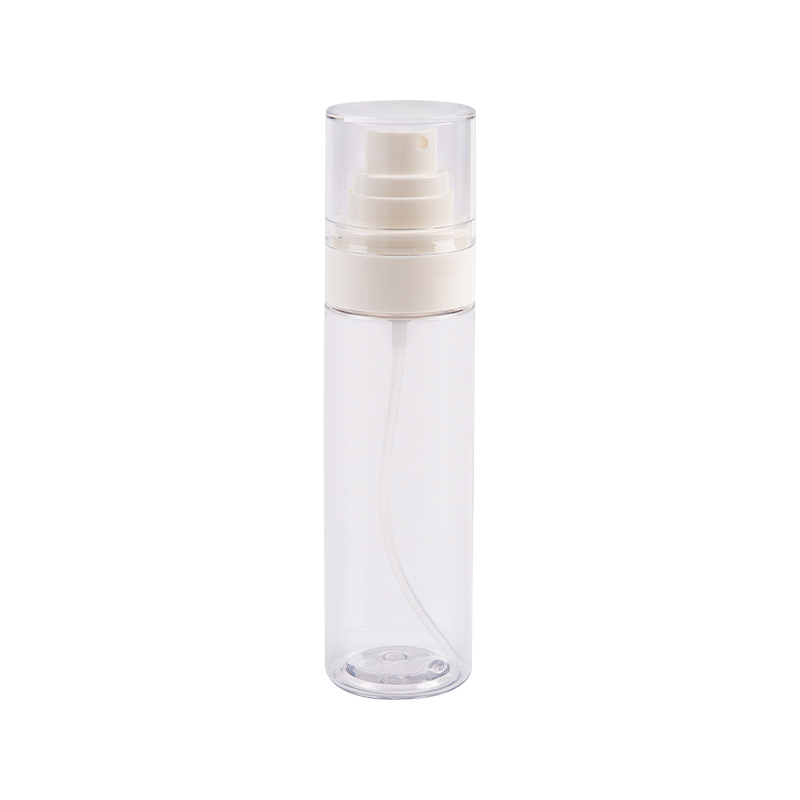
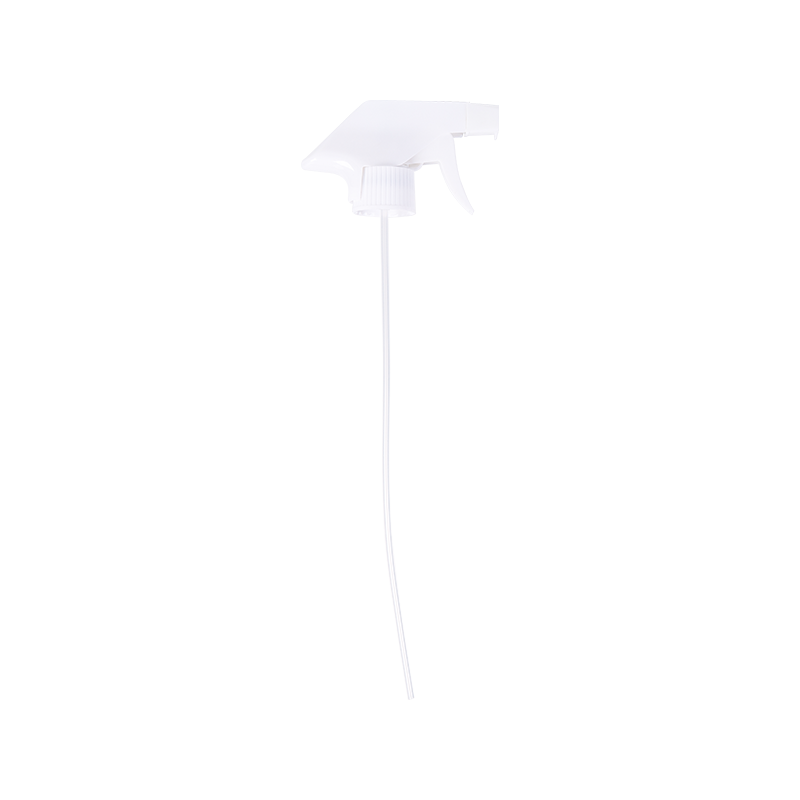
Trigger sprayers, also known as spray bottles, pump sprayers, or hand sprayers, are indispensable tools in our homes and gardens. They're perfect for everything from misting plants and cleaning surfaces to applying hair products. However, over time, these handy devices can get clogged or accumulate residue, leading to inefficient spraying or even complete blockage. Regular cleaning is essential to keep your trigger sprayer functioning optimally and extend its lifespan.
Why Cleaning is Crucial
Neglecting to clean your spray bottle can lead to several problems:
-
Clogging: Dried-up liquids, mineral deposits from water, or product residue can build up in the dip tube, nozzle, and trigger mechanism, obstructing the flow.
-
Contamination: If you switch between different types of solutions (e.g., disinfectant to plant food), residue from the previous liquid can contaminate the new one, potentially causing harm or reducing effectiveness.
-
Bacteria and Mold Growth: For water-based solutions, especially if left for extended periods, bacteria and mold can thrive within the sprayer components, leading to unpleasant odors and potential health risks.
-
Inefficient Spraying: A partially clogged nozzle can result in a weak, uneven, or sputtering spray pattern, making your tasks more difficult.
General Cleaning: The Basics
For routine cleaning or when switching between non-toxic solutions, a simple rinse often suffices.
Materials You'll Need:
-
Warm water
-
Dish soap (optional)
-
Small brush (like a bottle brush or an old toothbrush)
Steps:
-
Empty the Sprayer: Pour out any remaining liquid from the bottle.
-
Rinse Thoroughly: Fill the bottle with warm water, attach the trigger, and spray the water through until the bottle is empty. Repeat this several times. This helps flush out loose debris and residual liquids from the dip tube and nozzle.
-
Add Soap (Optional but Recommended): For a more thorough clean, add a few drops of dish soap to the bottle along with warm water. Shake the bottle gently to create suds.
-
Spray and Rinse Again: Spray the soapy water through the nozzle until the bottle is empty. Then, rinse the bottle and the trigger mechanism with clean warm water until no soap residue remains.
-
Clean the Bottle Interior: Use a bottle brush to scrub the inside of the bottle, especially if there's visible residue or buildup.
-
Air Dry: Leave the bottle and trigger sprayer disassembled to air dry completely before reassembling. This prevents moisture buildup and inhibits mold growth.

Deep Cleaning for Clogs and Residue
If your pump sprayer is significantly clogged or has stubborn residue, a more intensive cleaning approach is necessary.
Materials You'll Need:
-
White vinegar (distilled)
-
Hot water
-
Small bowl or container
-
Old toothbrush or pipe cleaner
-
Safety glasses (if using strong cleaning agents)
Steps:
-
Disassemble the Sprayer: Carefully separate the bottle from the trigger mechanism. If possible, gently detach the dip tube from the trigger. Some trigger sprayers can be further disassembled into smaller components like the nozzle cap, but be cautious not to force anything to avoid damage.
-
Soak Components (Vinegar Method):
-
For mineral deposits (common with hard water), fill the bottle with a solution of equal parts white vinegar and hot water. Let it sit for at least 30 minutes, or even a few hours for severe buildup.
-
Place the trigger mechanism (including the dip tube and nozzle) into a small bowl filled with undiluted white vinegar. The acidity of the vinegar helps dissolve mineral deposits and some stubborn residues. Let it soak for 30 minutes to an hour.
-
-
Scrub and Flush:
-
After soaking, use an old toothbrush or a pipe cleaner to scrub any visible residue from the inside of the bottle, the dip tube, and especially around the nozzle opening.
-
Reattach the dip tube to the trigger mechanism (if you detached it). Fill the bottle with hot water and reattach the trigger.
-
Spray hot water through the nozzle repeatedly until the clog clears and a strong, consistent spray pattern is restored. You might need to adjust the nozzle to different spray settings to dislodge debris.
-
-
Rinse Thoroughly: Rinse all components thoroughly with clean, warm water to remove any vinegar smell or residue.
-
Test and Air Dry: Reassemble the hand sprayer and test it with clean water. If the spray is still weak, repeat the soaking and flushing steps. Once satisfied, allow all parts to air dry completely before storing.
Cleaning Specific Residues
-
Oily or Greasy Residues: For oily substances (like some hair products or pest sprays), use a solution of warm water and a degreasing dish soap. Follow the deep cleaning steps.
-
Sticky Residues (e.g., from sugar-based solutions): Hot water alone can often dissolve these. If not, a mild detergent or even a small amount of rubbing alcohol (followed by thorough rinsing) can be effective.
-
Strong Chemicals: If you've used harsh chemicals, always consult the chemical's safety data sheet (SDS) for specific cleaning instructions. Generally, flush with plenty of water, and consider wearing appropriate personal protective equipment (PPE) like safety glasses and gloves during cleaning. Never mix different cleaning agents unless explicitly stated as safe by the manufacturer.
Tips for Maintenance and Longevity
-
Empty After Use: Whenever possible, empty your pump sprayer after each use, especially if it contains water or dilute solutions, to prevent stagnation and bacterial growth.
-
Store Properly: Store your clean and dry spray bottle in a cool, dry place away from direct sunlight.
-
Avoid Over-Tightening: Don't overtighten the trigger mechanism onto the bottle, as this can damage the seal.
-
Consider Dedicated Sprayers: If you frequently use strong chemicals or very different types of solutions, consider having dedicated hand sprayers for each to prevent cross-contamination and prolong their life.


 中文简体
中文简体